Explore Editor Interface
Introduction
Start the editor from WordPress Dashboard > Appearance > YellowPencil Editor. The editor has a simple interface, designed in a way that everyone can use.
The Right Panel
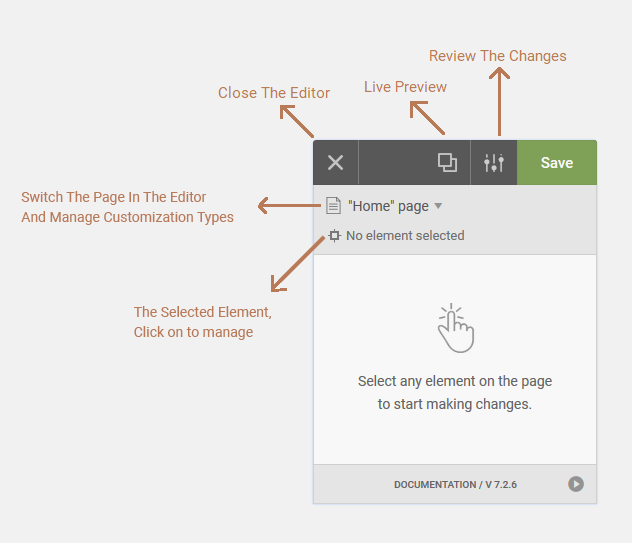
You have to use the right panel to edit for the selected element.
Right Panel – Before Select The Element:
Right Panel – After Select The Element:
As you can see, when an element is selected, all available CSS properties appear there.
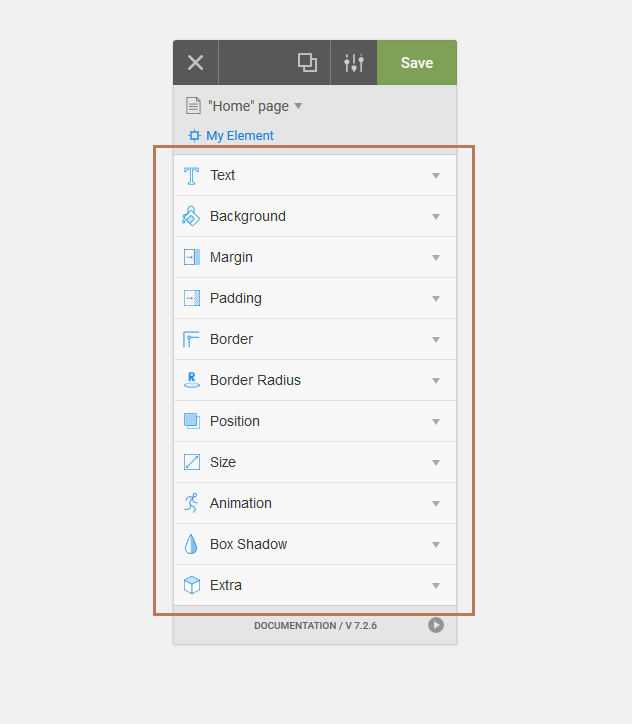
- Text
- Background
- Spacings (Padding)
- Spacings (Margin)
- Borders
- Border Radius
- Positioning
- Measures
- List
- Transforms
- Shadow
- Filters
- Motion (Animation)
- Motion (Transition)
- Extra
- Extra (Flexbox)
- Extra (Grid)
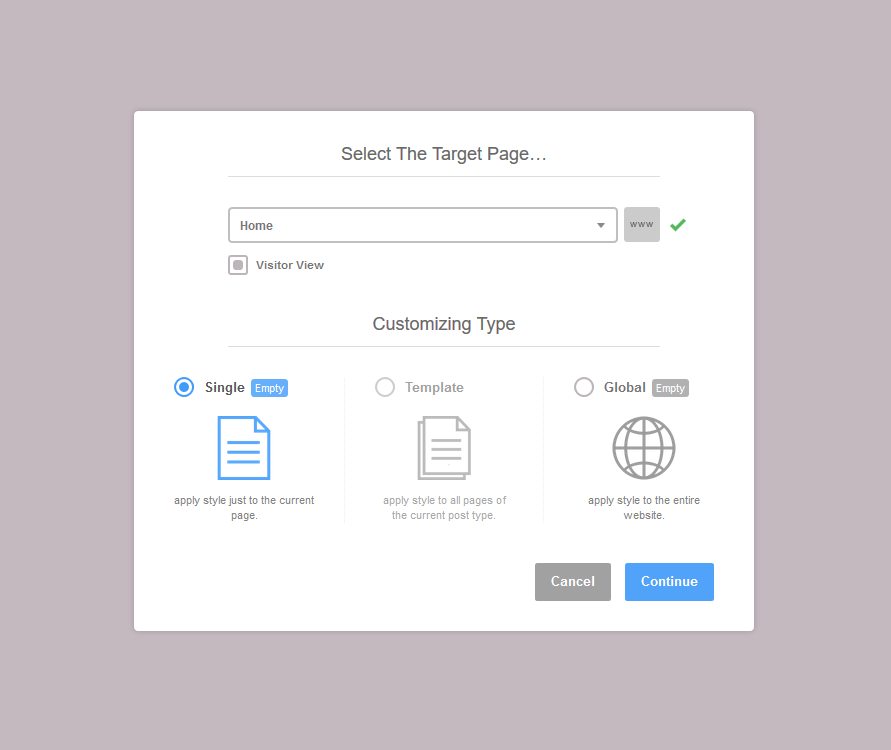
Right Panel – Customization Types
You can change the current customization type, manage and, reset by using this tool.
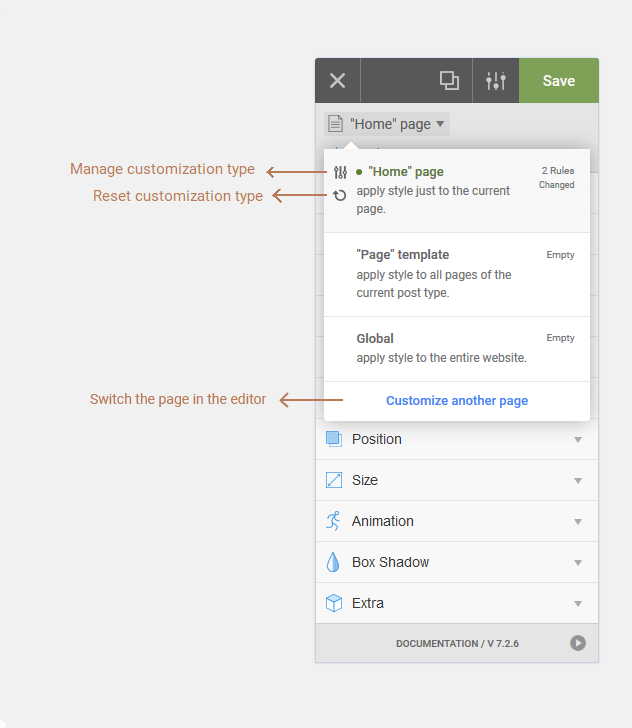
Right Panel – Switch The Page In The Editor
Click on the current customization type, to change the page, use visitor view and use custom URL to open in the editor.
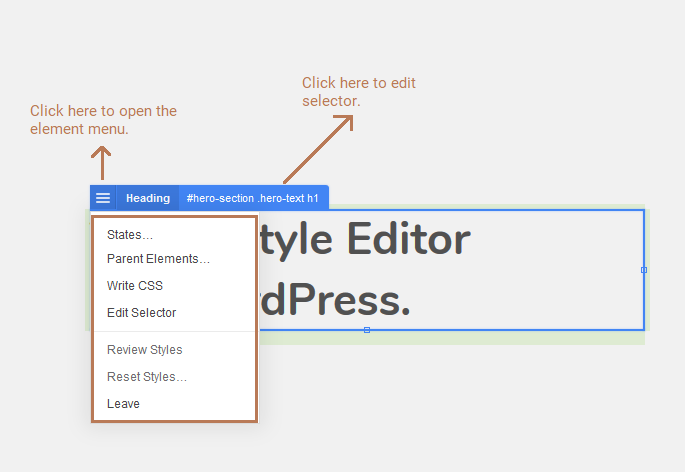
The Selected Element
Click on an element to selecting an element, the element will be covered with a solid blue border.
The Left Bar
The left bar includes useful tools and extra features.
Left Bar – Tools & Features
All the features and tools in the left bar are listed below with a brief description.
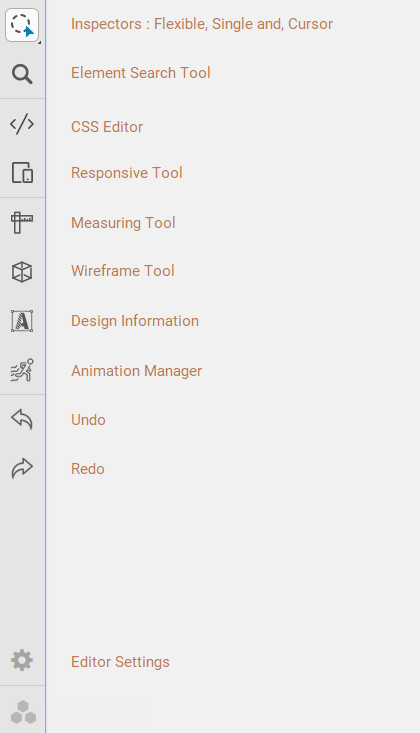
- Element Inspector
- Element Search Tool
- CSS Editor
- Responsive Tool
- Measuring Tool
- Wireframe Tool
- Design Information
- Animation Manager
- Undo
- Redo
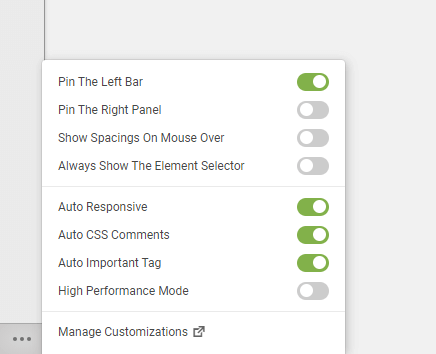
Left Bar – Options
Some settings for the live editor, the plugin options are in the WordPress Dashboard > YellowPencil page.